
- This event has passed.
February 7th MAPP (Online): Building Community Resilience Through the Arts | Workshop | Exhibition
: Building Community Resilience Through the Arts | Workshop | Exhibition 1")
Feb 7th @ 3:00-4:00 pm | Visual Art Workshop
Feb 6th @ 7:00- 10:00 pm | Performance
Click here on the date of the event to see the live performance streaming on Facebook.
During these challenging times, it is our goal to continue providing excellent and uplifting programs to you and we are pleased to announce our fifth online FREE MAPP program. Our TWO DAY MAPP FESTIVAL program includes 4 music performances on February 6th and a visual art workshop on February 7th and will be live-streamed from artists’ homes to your homes. Live streaming on Facebook
Now, more than ever, we need your support to continue facilitating relationships between the artists and our community, and building a sonic bridge between today’s challenging time and a brighter future. Please consider investing in the future of the artists and the important role of the live performing arts in our community.
Make a gift to Red Poppy Art House today!
Launched in 2003, the Mission Arts & Performance Project (MAPP) is a homegrown bi-monthly, multidisciplinary, intercultural happening that takes place in the Mission District of San Francisco. On the first Saturday of every even month of the year, the MAPP transforms ordinary spaces, such as private garages, gardens, living rooms, studios, street corners, and small businesses into pop-up performance and exhibition sites for a day/night of intimate-scale artistic and cultural exchange among a kaleidoscope of individuals and communities. Due to COVID-19, we have temporarily changed this dynamic program from an onsite to an online series. Thanks to the mastery and innovation of the presenting artists and curatorial vision we are pleased that the kaleidoscope of cultural exchange continues to be an incredibly enriching experience for the presenter and the viewer. We look forward to the days that we can safely present at our neighborhood venue and we are grateful for everyone’s ingenuity in making the online presentations meaningful and unique experiences.
This program is funded by California Arts Council Local Impact Grant and Hardly Strictly Bluegrass Relief Fund and will continue our work in presenting unique artistry to the communities that we serve.
RED POPPY MAPP TEAM:
Curator: Dina Zarif / Artistic Director
Tech support: Leeav Sofer
PR and Digital Marketing: Jennie D. Legary
FEBRUARY 7TH WORKSHOP
SUNDAY, FEBRUARY 7 TH | |||
| Time | Performance/Event | Description | Artists |
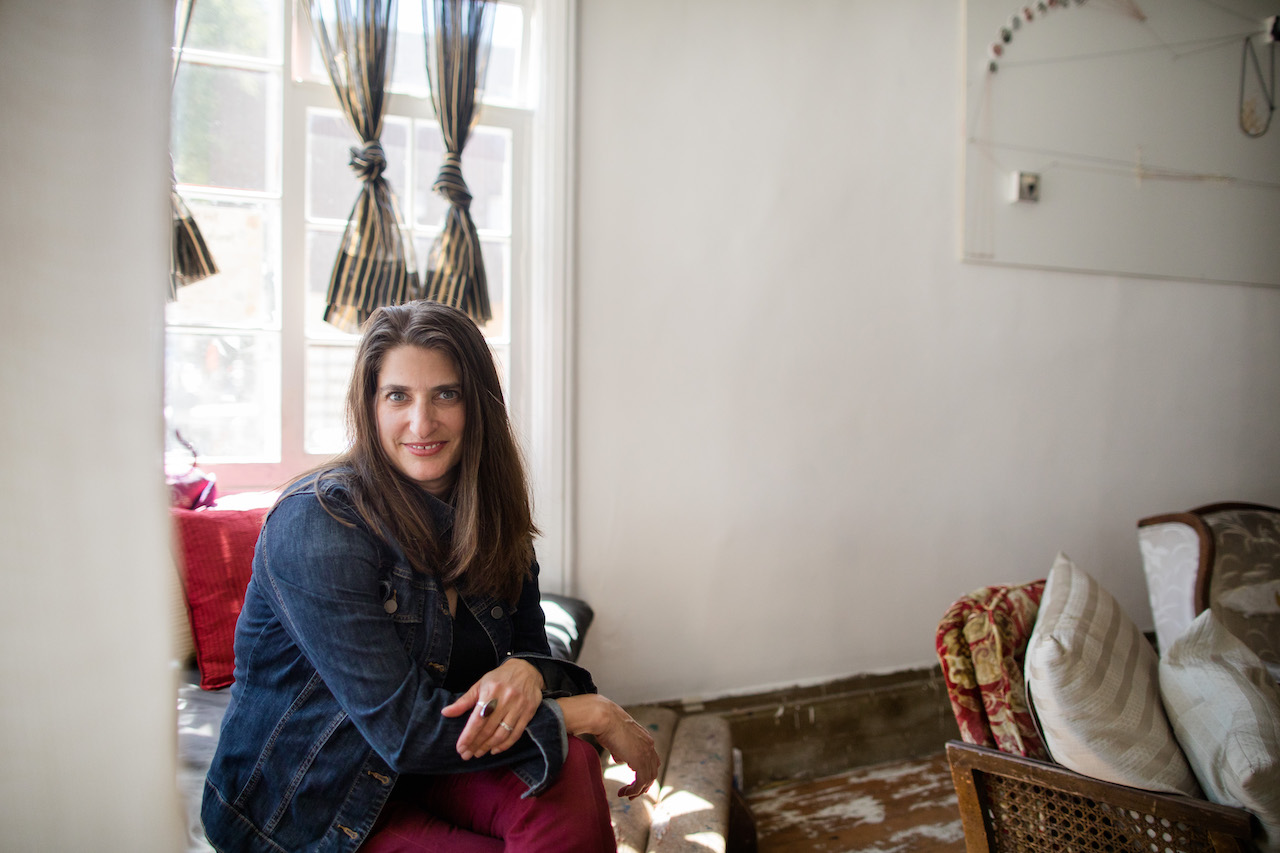
| 3:00- 3:10 pm | Introduction, Artist meet and greet | RPAH window Exhibition | Curator Dina Zarif will greet the Artist, Introduction about the current Window exhibition at RPAH: “Hold me in the Palm of your Hand” | Andrea Guskin -Visual Artist |
| 3:10 – 4:00 pm | Workshop: Between the Palm Lines, Layers of Home | Rubbings, Transfers, Tape and String: Using Everyday Objects to Create Meaningful Artworks | Andrea Guskin -Visual Artist |
: Building Community Resilience Through the Arts | Workshop | Exhibition 2")
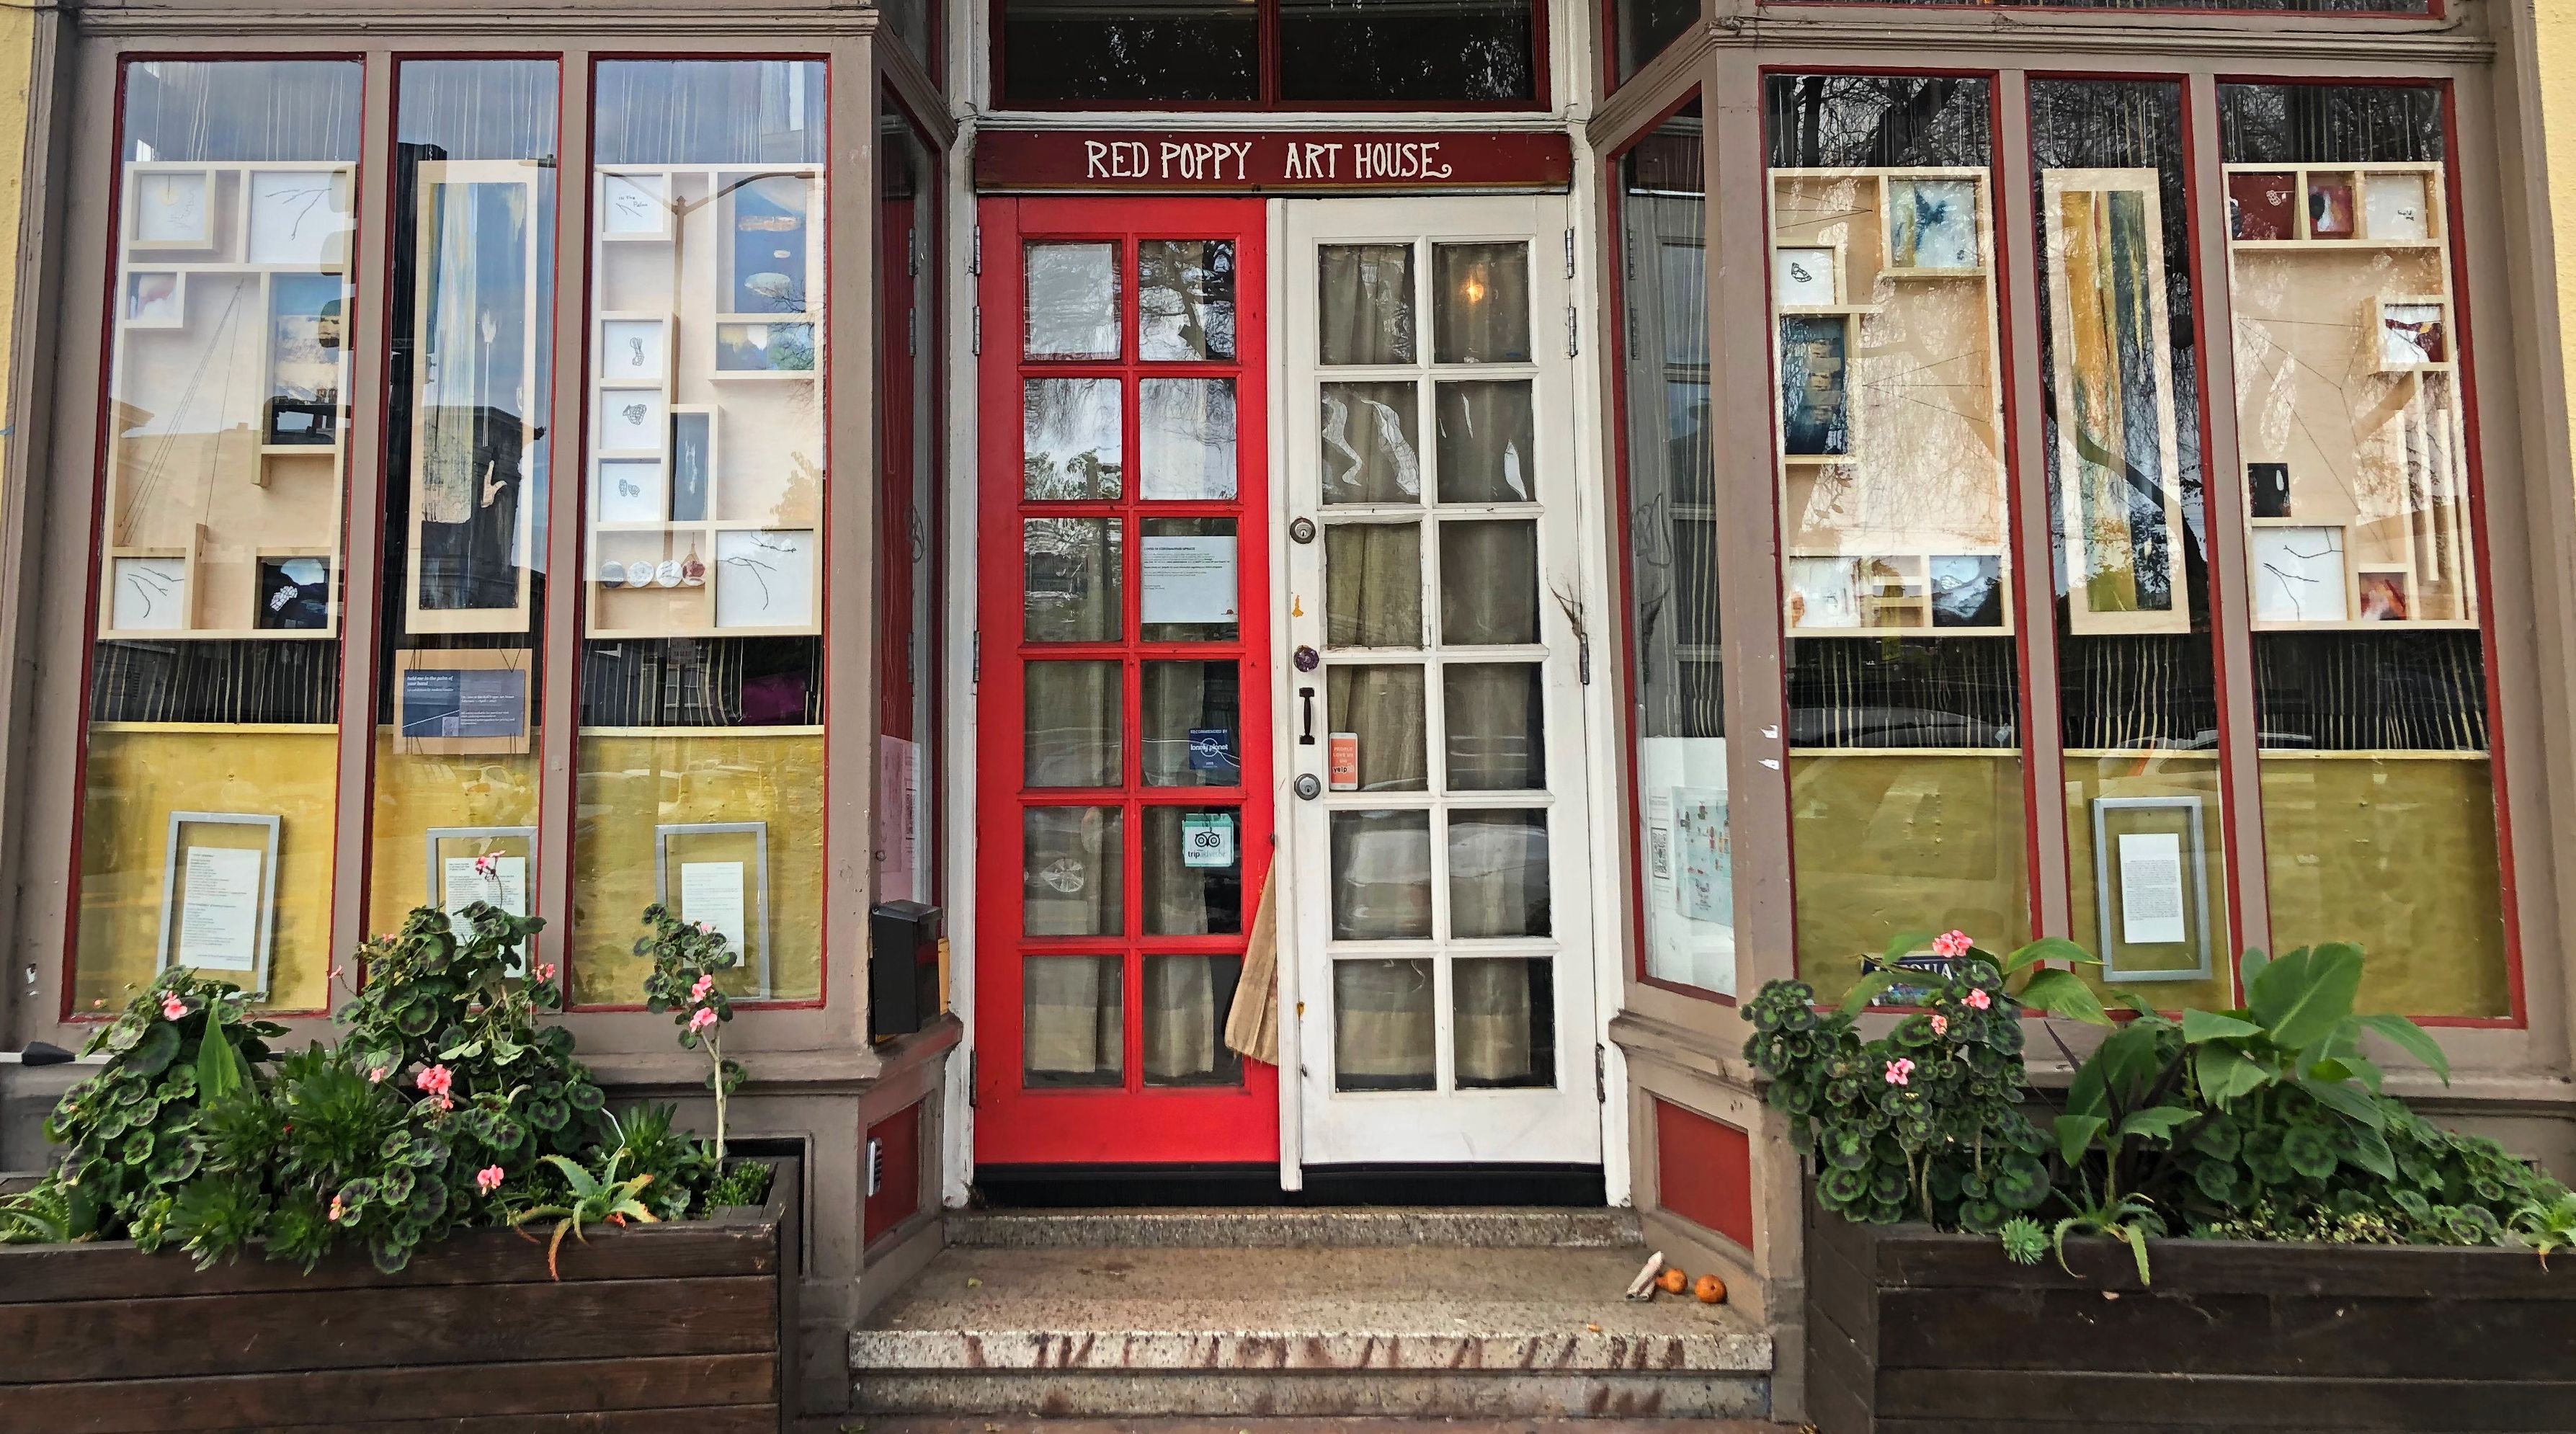
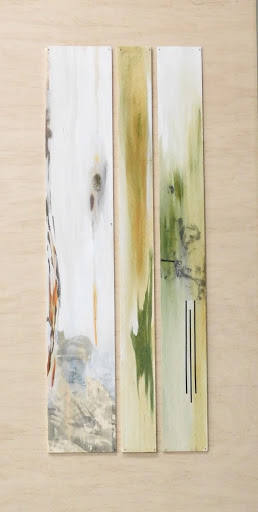
Current exhibition on view in the windows of The Red Poppy Art House
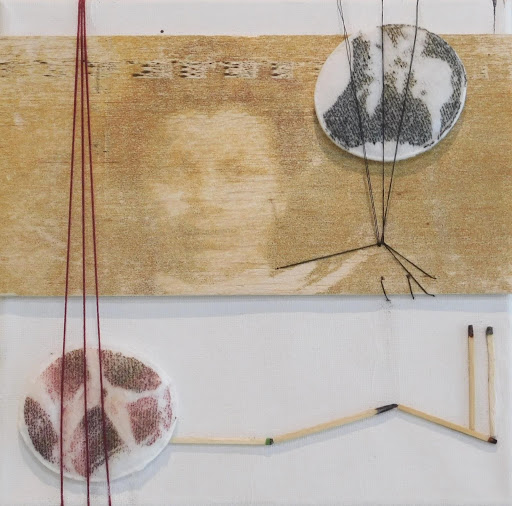
ARTIST STATEMENT
Using the everyday materials of mending, my work explores the layers of social and emotional experience related to ancestry, immigration, and domestic life. Thread and cord are sewn, tied and knotted: they speak of the tight ropes we all walk, each step composed of mundane and extraordinary moments, containing influences both known and unknown. The work is designed to move beyond the boundaries of the art object, mapping paths that become routes of connection and experience.
: Building Community Resilience Through the Arts | Workshop | Exhibition 3")
: Building Community Resilience Through the Arts | Workshop | Exhibition 4")
: Building Community Resilience Through the Arts | Workshop | Exhibition 5")
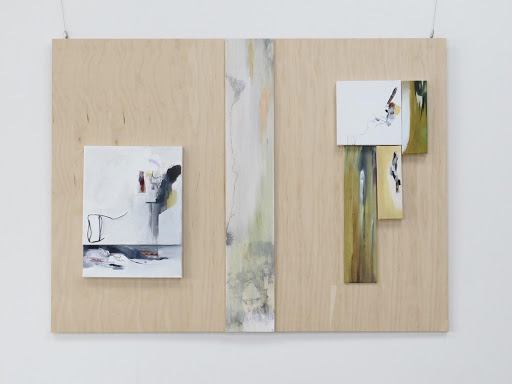
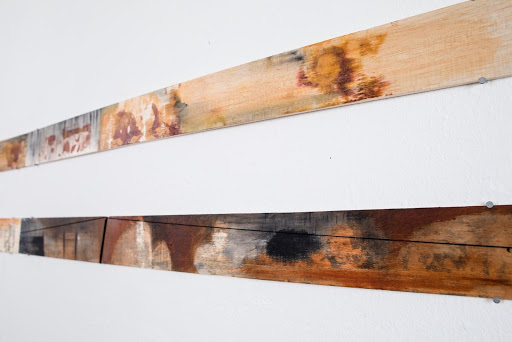
Hold me in the Palm of your Hand, the current exhibition on view in the windows of The Red Poppy Art House, began during the first two months of sheltering in place in 2020. Missing friends and family, I started asking them to send an image of their palm. Staring at the lines of their palm, I began to sew them into the canvas: building the lines of my loved ones little by little, piece by piece, brought me closer to them in my mind. The paintings created alongside them speak of the water, land, and bridges that lie between the people represented as palm lines as well as the tangible absence and distance that exists between us. For more info please visit www.andreaguskin.com
ARTIST BIO:
Andrea Guskin is a San Francisco Bay Area artist who was raised amongst the woods and college campuses of Wisconsin and Ohio. She began drawing by pillaging her father’s office supplies for fine tip pens and yellow pads, filling them with costumed figures while lounging on a 1970’s shag carpet.
After studying painting at Antioch college, Andrea moved to NYC and became a part of the art and songwriter community on the Lower East Side, joining a group of artists working without heat in an 1897 former school building (now known as The Clemente). It was here that the figures in her paintings began to deconstruct into minimal skeletal portraits in black and white, which formed the bridge to her architectural tape drawings and her abstract explorations related to the home.
Since moving to the Bay Area in 2003, Andrea has expanded the materials and themes she works with–incorporating small ordinary objects and domestic mending materials such as thread, burnt matches, cotton rounds, tape, and rubber bands. She uses these objects to explore ideas related to domesticity, refuge, and ancestry.
Andrea has recently added a participatory community aspect to her work, merging her years in museum education (The Oakland Museum/The Contemporary Jewish Museum) and her art practice. One example is the ongoing From Where to Here Project, a series of events in which participants are invited to reflect on their own and their families’ journeys to the Bay Area.
In 2020, Andrea founded Virtual Cultural Connections, a Bay Area program designed to promote cultural awareness in schools and support local artists. She currently lives and works in San Leandro with her husband and two sons.
: Building Community Resilience Through the Arts | Workshop | Exhibition 6")
Between the Palm Lines, Layers of Home | Andrea Guskin
Rubbings, Transfers, Tape, and String: Using Everyday Objects to Create Meaningful Artworks
WORKSHOP DESCRIPTION
I often incorporate household fragments and objects in my work: using ubiquitous items such as used matches, rubber bands, and cotton rounds. In this workshop, we will gather objects from home to create a texture and line board that can be used over and over, transforming found everyday pieces into layered worlds on paper. This workshop is a chance to be playful and experiment with what’s around you–it’s meant for everyone and requires no previous art experience.
Since ancestry is an important part of my work, I will show you how to use this process with a printed copy of a vintage family photograph and how to make a simple photo transfer using an inkjet printer and a piece of label paper. Additionally, I will demonstrate how I would integrate this drawing into the larger narrative of my work by finding a place for it in one of the wall installations currently unfolding in my studio.
: Building Community Resilience Through the Arts | Workshop | Exhibition 7") Pencil rubbings have been used widely by artists to add additional layers of meaning and interest to drawings. Here is an example by Max Ernst, who created many drawings using this technique, also called frottage.
Pencil rubbings have been used widely by artists to add additional layers of meaning and interest to drawings. Here is an example by Max Ernst, who created many drawings using this technique, also called frottage.
Max Ernst, When Light Cartwheels 1925
MATERIALS
For Rubbings (Frottage)
- Scissors
- Glue stick
- Copy Paper: with or without printed image
- A piece of cardboard, wood or heavy paper: this will be the base for the objects
- Pencil: 2B will work but a softer pencil is ideal (4B or 6B)
- String (preferably thicker than standard thread, yarn or cord will work well)
Household objects: I used playing cards (to cut into shapes), cotton rounds, a key, an earring, a feather and a game board. Look for things with interesting shapes and cut-outs, that are fairly flat.
Optional
- Colored Masking Tape
- Black paper for the background
- A printed copy of a photograph of a family member or friend
- A picture of a palm
- Colored pencils
- woodless pencils
For photo transfers:
- An inkjet printer
- A sheet of printable label paper (I use Avery)
- Paper (any thickness)
WORKSHOP INSTRUCTIONS
Step one: Gathering
The Essentials: scissors, glue, lightweight paper, string, pencil, and some kind of board for backing. : Building Community Resilience Through the Arts | Workshop | Exhibition 8")
Household Objects: I found cards, a feather, an old Trouble game board, a key, a cotton round, an earring, and a wooden toy remnant. I printed out a photograph of my grandfather working in a chemistry lab and the palm of my nephew Ricardo who lives in Trinidad.
: Building Community Resilience Through the Arts | Workshop | Exhibition 9")
String drawing with Palm Lines: Who’s palm lines will you create? You can use your own or a picture of someone else’s palm.
Cut at least three pieces of string, one for each line of the main lines in the palm. I cut four for his palm, as the line across the middle line was so strong.
Arrange string on your board, echoing as closely as possible the lines of the hand.
Run the string over the glue stick, or add glue to the board–then adhere the string to the board (you will need to wait for the glue to dry before rubbing)
Step two: Arranging your household objects and shapes on the board
Glue or tape objects onto your board. I taped everything but the string, so I can move the objects around freely. One of the advantages of this technique is being able to repeat a shape/texture easily, so choose shapes that fit in with any concepts or ideas you have for your project.
: Building Community Resilience Through the Arts | Workshop | Exhibition 10")
Step Three: Rubbing
Start with a Warm-up. Holding your paper firmly on top of the board, rub back and forth using the side of your pencil until the lines and shapes appear. Shift the paper around to gather more rubbings.
After you complete your warm-up, you will have an idea of which objects you prefer to use on your final piece. Here are some ways to add to your piece:
Use a printed copy of a photograph instead of a blank sheet of paper. It works best if it’s a light-colored photograph. Cut it out if desired and place it on black paper.
Use colored masking tape to make a design on paper before you start rubbing. Use the rubbings to fill in the negative spaces of the design. Find your favorite area of the page and cut it out.
Photo Transfer Technique for Inkjet printer
Take all the labels and sticky parts of a sheet of white address labels for inkjet printers (Avery labels work well)
: Building Community Resilience Through the Arts | Workshop | Exhibition 11")
- Place in your printer (in mine I have to place it upside down)
- Print the photograph (it will print in reverse). Transfer immediately after printing, while the ink is still very wet. Make sure to use a board or larger paper to protect the surface you are working on.
– Lay a piece of paper (or wood) down on: Building Community Resilience Through the Arts | Workshop | Exhibition 12") top of the image. For this, I only wanted to print a selection of the image.
top of the image. For this, I only wanted to print a selection of the image.
Pat the back firmly all around with your whole palm. : Building Community Resilience Through the Arts | Workshop | Exhibition 13")
Lift and see the image!
It will most likely not be “perfect” but contain some spots that didn’t transfer completely. Personally, I like this effect.
If you like, remove the ink by transferring the rest of the ink onto scrap paper and re-use the same sheet to transfer once again. It will dry in about an hour.
Images from Past Exhibitions:
Time: Feb 6th, 7:00 pm -10:00 pm (Performances), Feb 7th, 3:00 PM – 4:00pm (Visual Art Workshop | Exhibition)
Admission: Free (donations are encouraged)
Tune in 10 minutes before each event starts to test your devices for connection.
The event will be streamed live through the Red Poppy Art House Facebook page
: Building Community Resilience Through the Arts | Workshop | Exhibition 14")